I’ve enjoyed exploring the night sky since I was a kid, but never did much with that, beyond looking at the moon from time to time, and talking about astronomy with a friend. That changed last year, when I got myself a telescope and I was able to point it to the vastness of space. How that happened is a bit of a long story, but the scope I bought was a Sky-Watcher Explorer 130P, which is a 5″ Newtonian telescope on an electronic Alt-Azimuth mount, and that became a rabbit hole that led me into a most fascinating hobby; astrophotography.
Orion
One of the first DSOs (Deep Sky Objects) I looked at with the telescope was the Orion Nebula/M42), which from the city is almost invisible to the naked eye but still somewhat visible through the scope or binoculars as a grey smudge on the sky. As I had anticipated, nebulae were extremely faint from my location, so I got myself a basic UHC (Ultra High Contrast) filter to assist with the observation.
The UHC filter allowed me to visually get more details of Orion with my eyes, which already blew my mind, but I then wondered if my phone’s camera would pick up even more details. The telescope came with a very basic phone adapter to take pictures at the eyepiece, so why not? At that point in time I knew nothing about astrophotography, or stacking, or tracking, and I just randomly selected a couple of seconds as the exposure time on my phone with the scope mounted in my Alt-az mount (that wasn’t even tracking the target) and this is what I got:
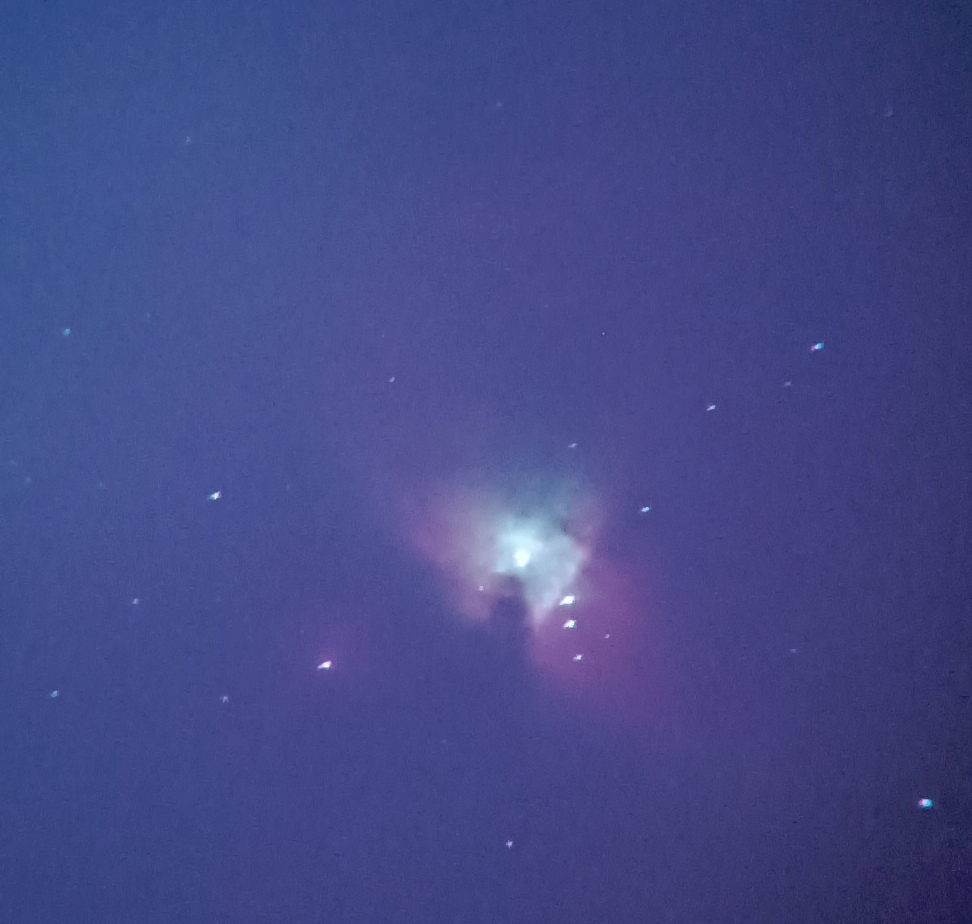
It’s a terrible picture, barely focused and with clearly visible star trailing; but to me, the fact that I could take a picture of such a distant object, seemingly floating in that ocean of darkness, was magical. Where my eye was unable to see much, the camera was picking up a clear distinct shape and colors. I cannot tell you how exciting this was to me. I always assumed that pictures of deep sky objects could only be taken from space probes or extremely expensive and large telescopes.
Gear Acquisition Syndrome
I will not bore you with the details, but what followed was a lot of research and gear acquisition. I spent an unhealthy amount of time looking into what I needed to take pictures with a camera instead of my phone. I learned of coma correctors, and reducers, and filters, and backfocus and thread sizes, and the different types of optics. I became very active in local astronomy trade groups both buying and selling gear (that I either determined wasn’t as useful as I thought after some tests, or that I was quickly outgrowing). In between, I was always reading and watching videos, and reviews, and papers.
There’s a few brands that repeatedly popped up in my searches for gear; Celestron, Skywatcher, Askar, ZWO, Williams Optics. And I ended up buying some stuff from them. But the brand that repeated the most is, without a doubt, Svbony. They very frequently had exactly what I was looking for, and at unbeatable prices. Angeleyes is another brand from which I got filters, adapters and dew heaters at a good price, and with great results. I’m not being paid to mention any of those brands, but if I ever publish a list of my astrophotography gear it’s like 80% Svbony and I think this could be useful to know to anyone looking to get started.
The DIY touch
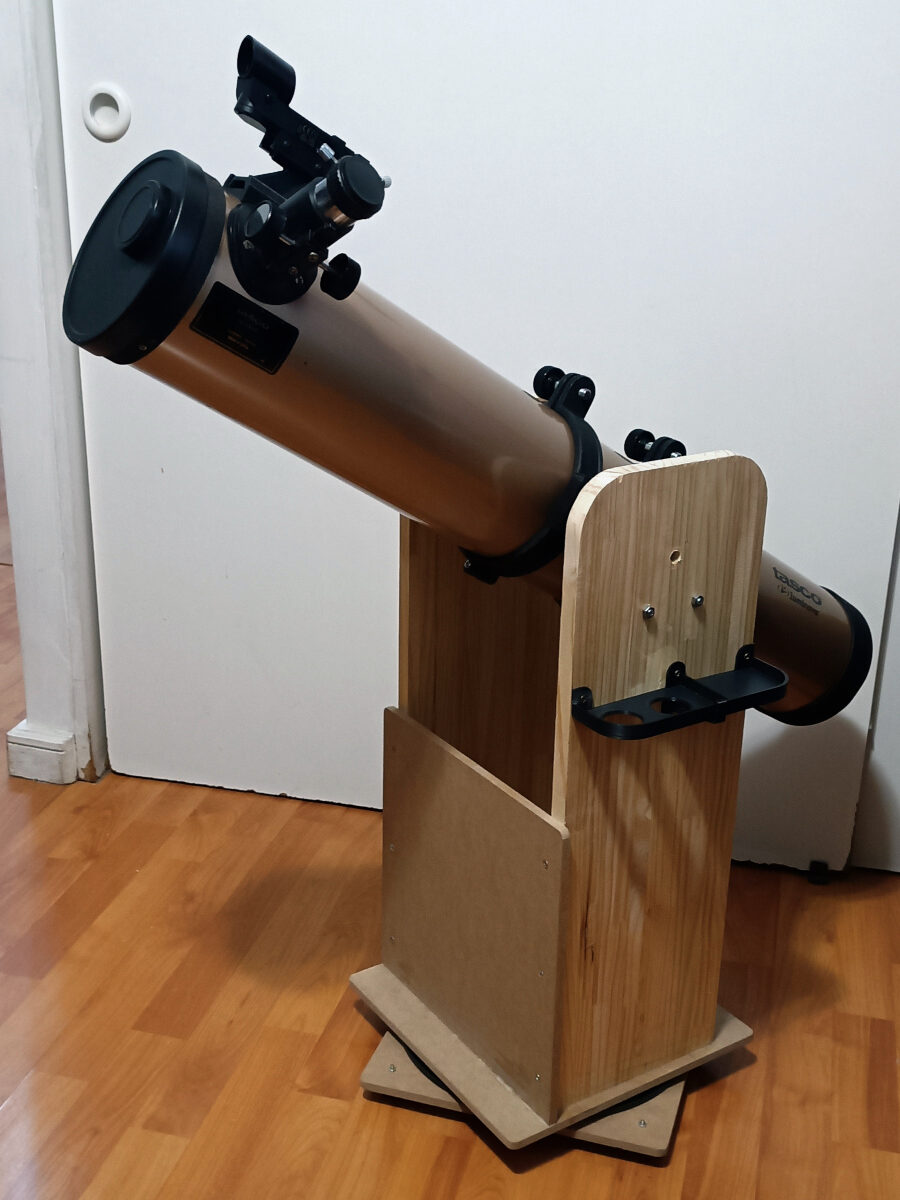
But it wasn’t just buying gear; I built a lot of stuff myself. I made a remote trigger for my Canon camera so I could use it with an intervalometer (based on this project ), I made a GPS unit for my Goto mount (following this github project; and I even contributed a bit to it!) and added a camera trigger port so I could use the mount to control the captures with it; I designed and 3D printed a bunch (an actual lot) of stuff for my scopes (accessories, holders, mount hooks, Bahtinov masks, custom adapters, dust caps, rings, etc), as well as pieces to repair/modify the telescopes of friends and neighbors (who once they learned that I was into the hobby, came to me with their questions and technical issues). I even designed and built a full Dobsonian mount for one of them!
All of this in the span of several months. We were in the middle of a very cloudy winter, so I couldn’t really run any long session sans a couple of short experiments against patches of sky. My very light polluted location didn’t help either, but I made sure to spend that time learning, building, acquiring and modifying gear to be as ready as I could be for when the skies cleared.
Clear Skies
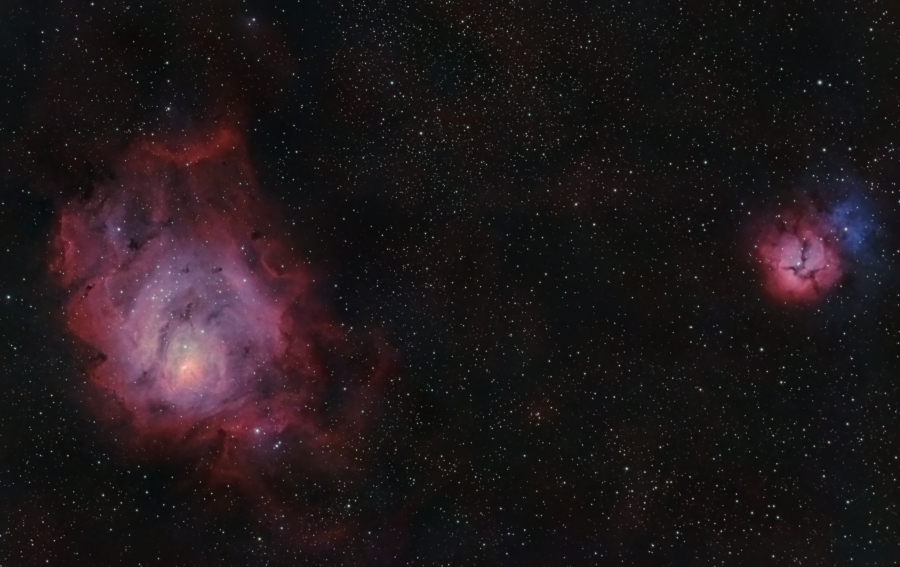
We eventually got a break from the clouds, and I was able to run more experiments against actual deep sky objects, using the telescopes, filters, etc that I had acquired. I will not show you every single picture I captured at this stage, but since I had amassed a good collection of both gear and knowledge, my first results with a more “proper” setup were promising:
While I was still far from getting decent results, it was extremely satisfying and almost surreal to get a picture like this. As bad as it is, it’s a giant leap from my first picture (of Orion).
Around this time I upgraded to an equatorial mount so I could push for longer exposures and avoid field rotation, which technically allowed me to start getting better results.
Deeper into the Rabbit Hole
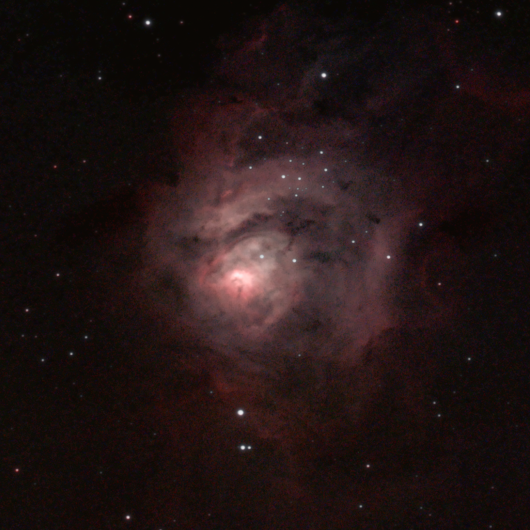
Very soon after, I upgraded to a second-hand astro-modded DSLR that I got for cheap, and that immediately made my captures of the Lagoon Nebula look a lot better:
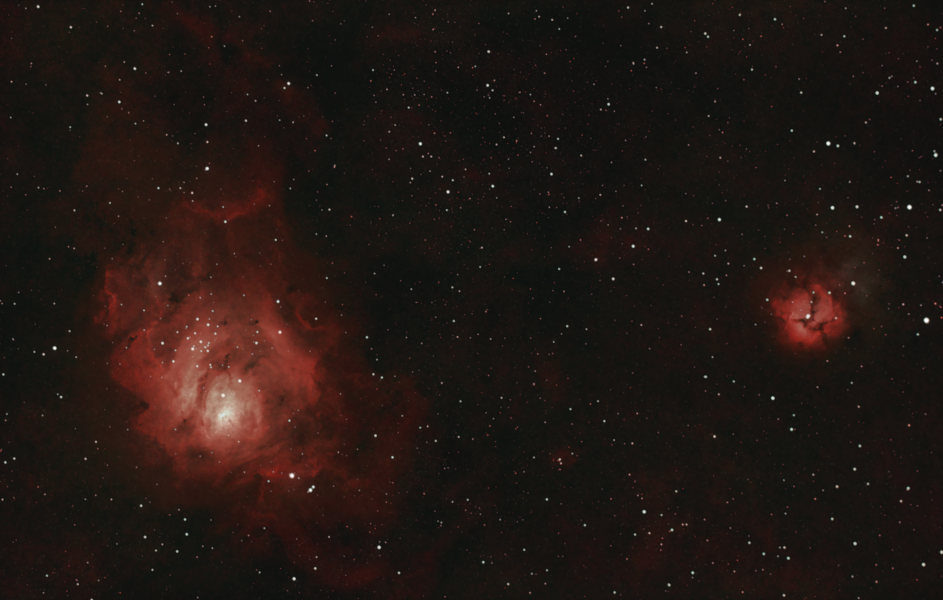
That was captured from the city, and I can’t emphasize enough how useful filters have become to combat light pollution, allowing me to take pictures from my apartment. I experimented so much with filters, that I could easily write an entire series of posts about them. But of course, nothing can truly replace darker skies.
Speaking of which…
Darker Skies
I’ll fast forward several months here, but I made progress in the following ways:
- Bought a couple of shorter scopes with better optics, more geared towards astrophotography
- Sold my astro-modded DSLR and bought a cooled, dedicated astro camera
- Started using an ASIAIR controller (this simplified the process quite a lot, as it helped me with polar alignment, finding targets, and monitoring the capture process)
- Started playing a lot more with software and plugins for post-processing. Siril and Cosmic Clarity were the biggest upgrades to my workflow.
- But most importantly; Found an observatory/cabin-rental location surprisingly close to the city that offered darker skies and access to a huge telescope (great for visual observation; not that much for photography).
The improvements listed above did not come all at once, nor in the order listed, but they all happened in the span of a couple of months. And while I did upgrade/sell/buy/modify more gear around this time, it was mostly a time that I spent experimenting with what I had, doing several trips to the aforementioned location, taking a couple of pictures each trip.
The difference in my post-processing workflow was also noteworthy, so here’s for example the very same picture I took with the astro-modded camera, with a slightly more refined post-processing done, and different color balancing:
At this point I was already feeling very proud of the results I was getting. It took me almost a year, and a lot of trading/buying/selling/building/improving equipment mixed with endless nights and days of learning and experimenting.
I think I’ll publish more of the pictures I’ve captured in a proper gallery, with details of the gear used. In the meantime I started an Instagram account if you want to take a look at some of it, but I’ll leave you now with one final picture. A picture that brings me back to how this started; The Great Orion Nebula, finally captured with more experience and better gear.
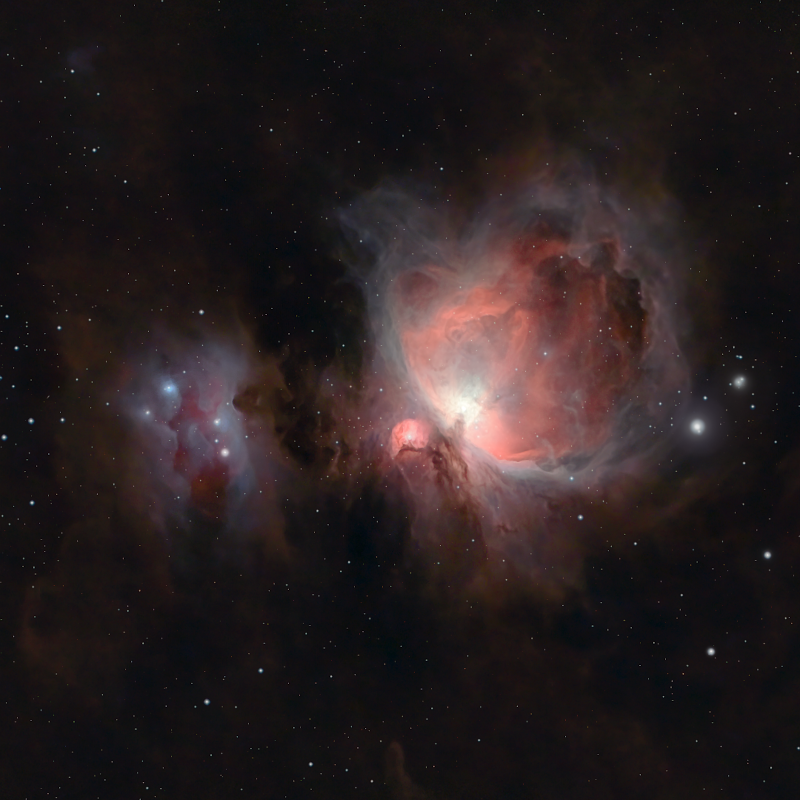
While not a perfect picture, I’m sure that the “me” that almost a year ago naively took a picture of this 1500 light years distant nebula with his phone and a basic mount, would have a hard time believing that he’d eventually be able to capture it with this much detail.
There’s still a long road ahead, and I’m very excited to see what distant objects lurking in the darkness of space I manage to capture next. Hopefully, I can take you all with me in that journey, and perhaps, inspire you to start walking this road as well.
Until then; Clear Skies!