
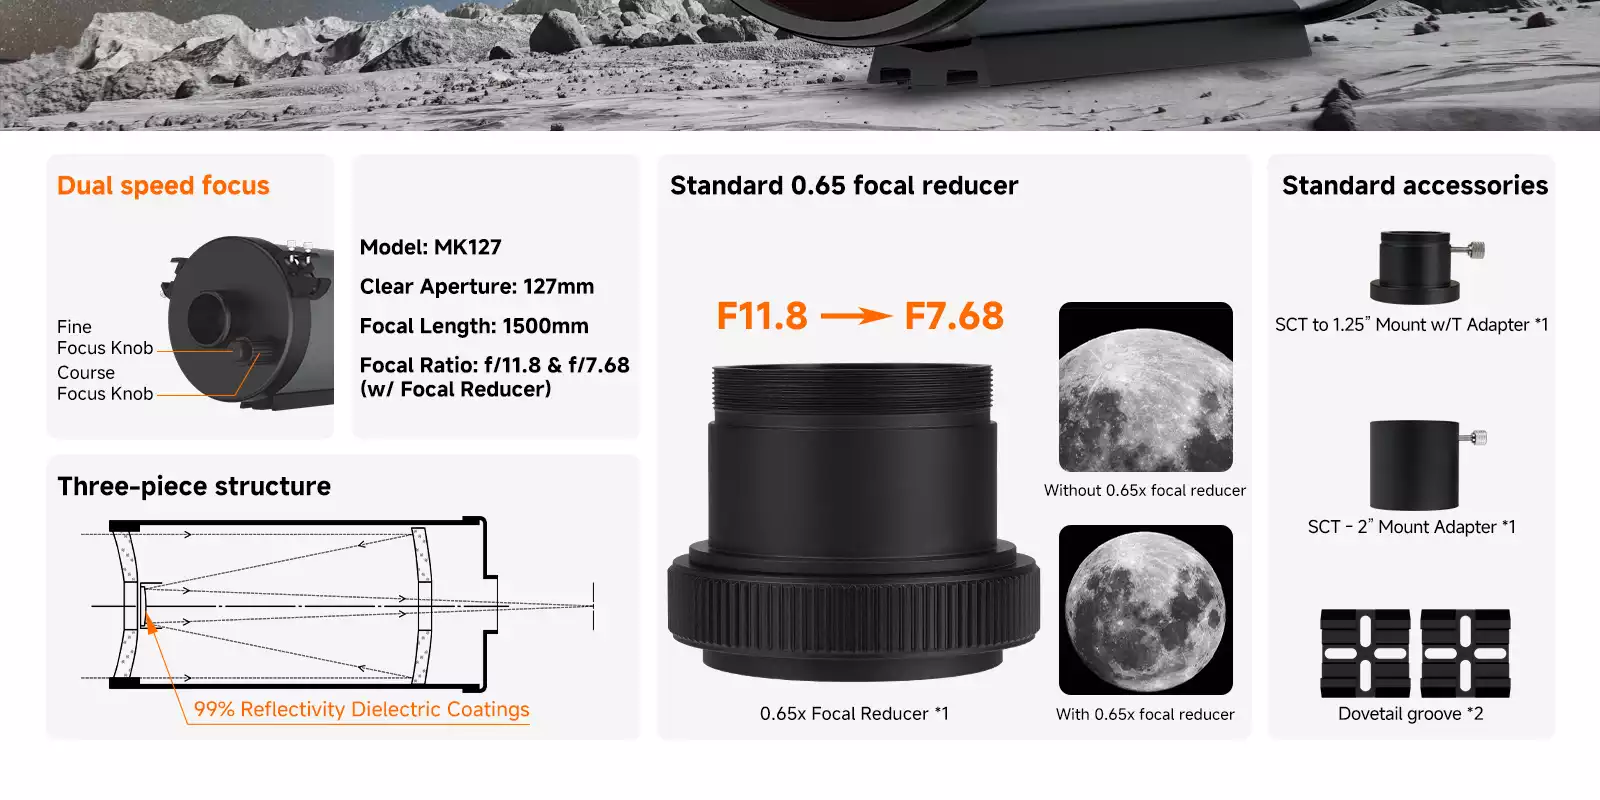
After more than a year in the hobby, I’ve tested and played with many telescopes for astrophotography. I’ve tried to keep at least one lens, astrograph or telescope for wide, mid-power, and high magnification levels, and currently the one I use for the later category is the Svbony MK127.
This telescope has worked really well for me thanks to its included reducer, resulting in a focal length of 975mm and a very respectable F/7.68 (which isn’t ultra fast, but it’s more than usable).
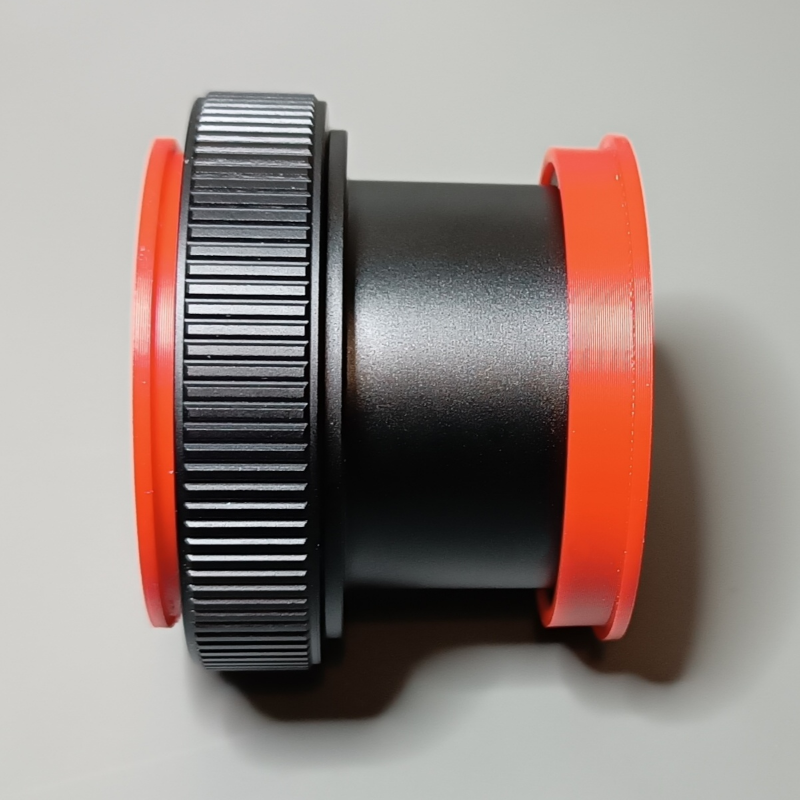
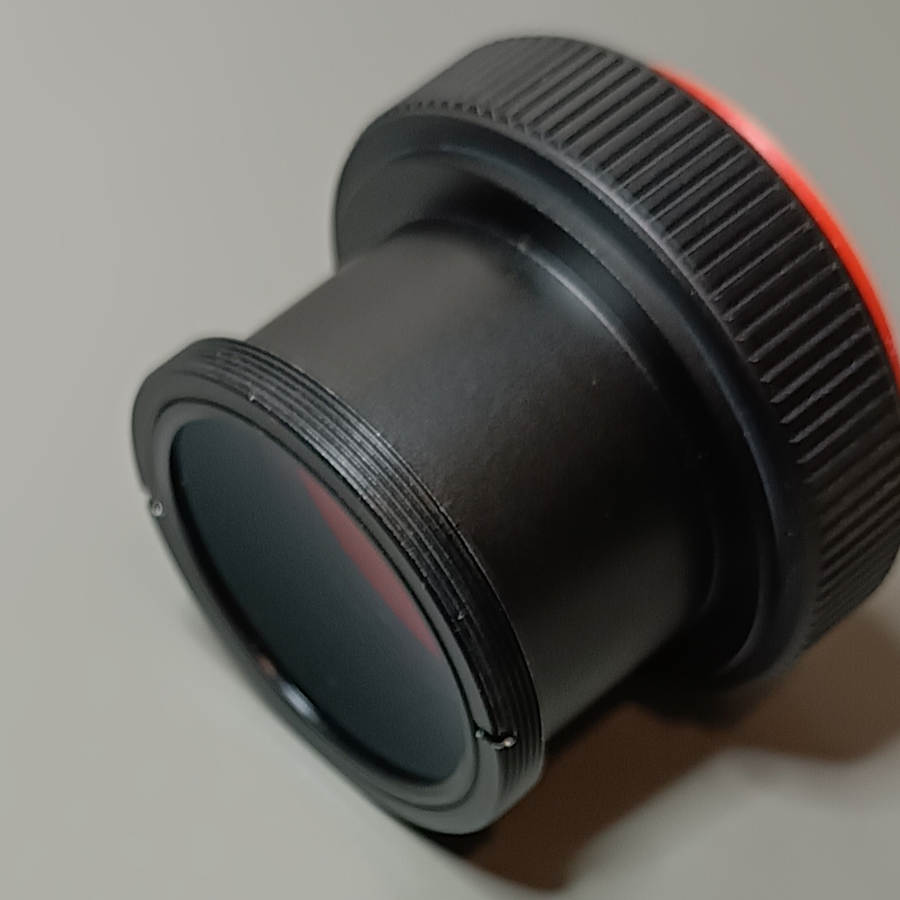
Having said that, there’s two issues with the included reducer. The first one is that it’s supplied with no protective caps. It’s just inside a flimsy bag inserted into a slot carved in the packaging foam. This is easy to solve with a 3D printer:
The second issue is related to the way it connects to the rest of my gear. The good news is that it has a pretty standard M48 thread with a backfocus distance (expected between the camera sensor and the reducer) of a very standard 55mm.
There’s always some math involved in making sure you can achieve those perfect 55mm, so I’ll go through a bit of it.
Most astro cameras have a flange distance (from sensor plane to the “connecting” end of the camera) of 17.5mm, so you need to add 37.5mm worth of extensions between the camera and the reducer. I use a 21mm SVBONY filter drawer (which is a pretty common and standard size too for filter wheels and drawers) that means that I just need to add a 16.5mm (21 + 16.5 = 37.5) extension between the reducer and the filter drawer to achieve the perfect 55mm spacing.
What I just described is an extremely average setup, and a lot of cameras actually come with both a 16.5mm extension tube and a 21mm one (in case you are not using a filter drawer) so you can get those 55mm. You’ll see those numbers everywhere in anything that goes between the camera and a telescope or reducer/flattener.
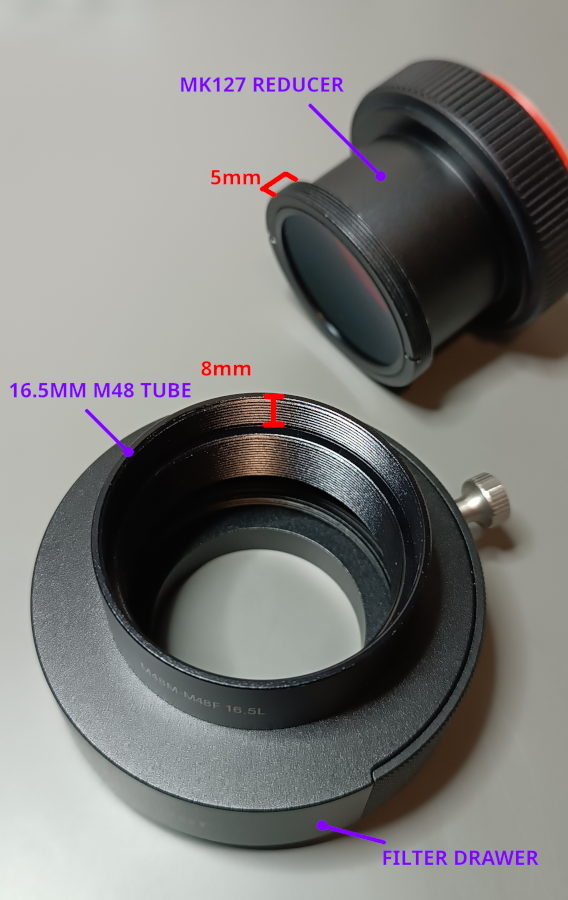
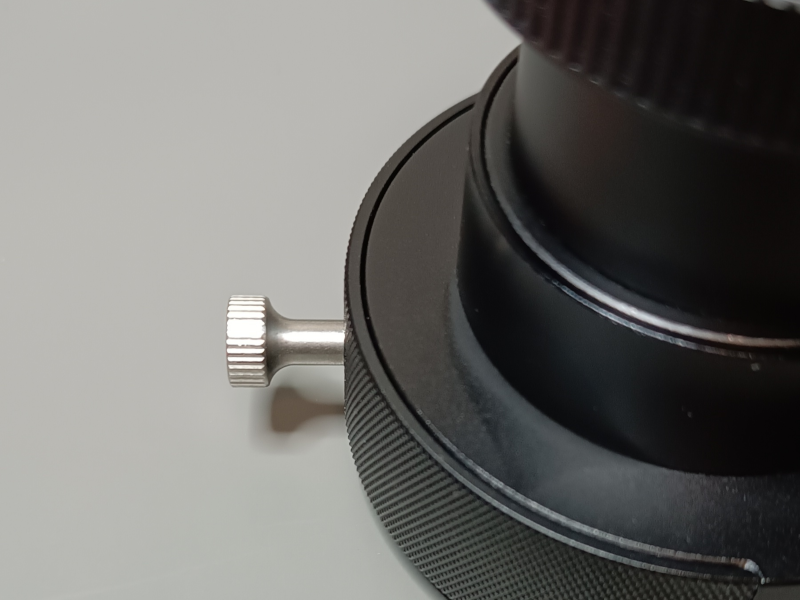
If all of that is pretty standard then what’s the issue with the reducer? Well the problem is that the thread on the MK127 reducer doesn’t have a stopping ring behind it, or a rim that would make sure that you don’t thread the reducer straight into the next element in your setup.
I originally didn’t notice this, because the MK127 has 5mm of thread, and for the first tests I used a 15mm extension tube that I had laying around (not the ideal 16.5mm) that happened to have exactly 5mm of internal thread, fitting perfectly with this reducer and not allowing it to go any further than it’s supposed to.
But then I moved to an actual 16.5mm extension tube made by ZWO (pretty common in the market). And this tube has 8mm of internal thread, so when I tried it with the reducer, I quickly discovered that I could screw it a whole 3mm inside the extension tube, absolutely ruining the “perfect” back-focus distance that I was supposed to achieve with it.
Now, this isn’t the end of the world. I’ve seen some posts online of people using some M48 to M42 adapters in between to act as an stopper, and other slightly more bespoke fixes that vary depending on the other elements in their setup. There’s plenty of approaches on Reddit, Facebook groups, etc, but to be fair, almost any approach to solve this will greatly depend on what else you are connecting this to.
My fix for example, is almost exclusively aimed towards connecting this into an extension tube with exactly 8mm of thread, which is what I use with my SVBONY filter drawer and my cameras.
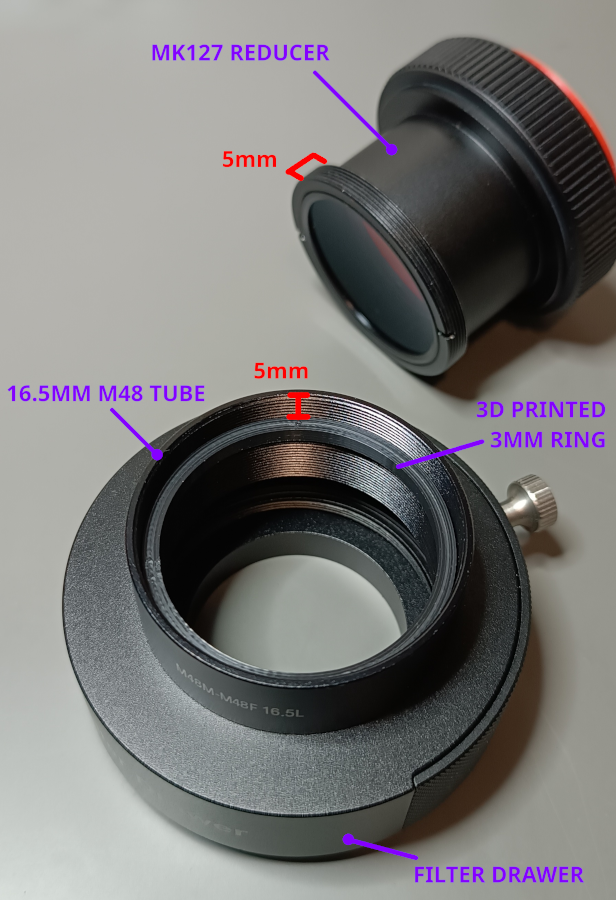
And my approach is simple; I made a spacer ring that goes inside the extension tube, sitting flush against the rim inside of it, and filling in those extra 3 mm, acting as a new stop for the reducer so it can only go 5mm in, which is exactly as much as it should go (or at least that’s what I think. There’s no available diagram for where those 55mm should be measured, so I can only assume it’s meant to go fully threaded but no further).
I have uploaded the model for this ring together with the end caps to Thingiverse in case they are useful to someone else.
The reason I printed the caps on TPU is to make them softer and more flexible, but I would recommend printing the ring in PLA, ABS, or any other rigid filament.
With the 3d-printed ring it threads perfectly into my usual extension ring + filter drawer combo.
Now, checking some recent videos of this telescope and the SVBONY webpage it looks to me like they’ve upgraded the design of their reducer to address this issue. If that is the case, then I don’t think that a lot of people will require the spacer ring anymore, but I’ve uploaded it anyway because I’m definitely not the only one who has struggled with this.
It would be great to get one of these new reducers myself, but for now this solution works for me.
At any rate, I’m happy with what I’ve been able to achieve with this scope. It’s great for both visual observation as well as astrophotography so I don’t see myself parting ways with it anytime soon and I’m glad to have finally solved some of the issues I had with it.